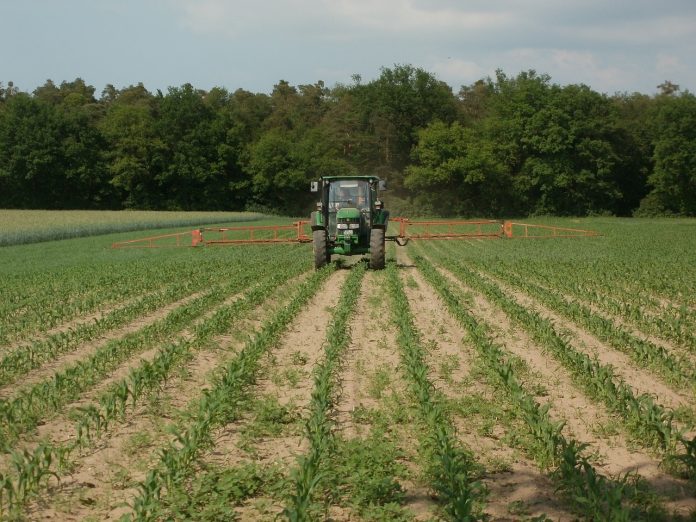
Applying chemicals with a sprayer that is not calibrated correctly can be waste of chemicals and money, according to Ohio State Extension Spray Technology Specialist Erdal Ozkan. He offers these tips to getting your sprayer ready for the spring season.
Nozzles
Before starting calibration, make sure you have a good set of nozzles on the sprayer. Nozzles can wear through extended use and can get clogged.
Clean and check the output of nozzles for a given length of time and compare the output from each nozzle. Replace nozzles showing output errors of more than 10 percent. Once nozzles are checked, it’s time to calibrate.
Calibration steps
- Fill the sprayer at least half full with water and run the sprayer to inspect for leaks and to make sure the sprayer is functioning properly.
- Measure the distance in inches between the nozzles and measure an appropriate travel distance in the field based on this nozzle spacing. The appropriate distances for different nozzle spacing is as follows: 408 feet for a 10-inch spacing, 272 feet for a 15-inch spacing, 204 feet for 20-inch spacing, 136 feet for a 30-inch spacing, and 102 feet for a 40-inch spacing.
- Drive through the measured distance in the field at normal spraying speed and record the travel time. Repeat this step at least two to three times and average the measurements.
- With the sprayer parked, run the sprayer at the same pressure level and for the same amount of time it took to travel the marked distance from the last step, and catch the output from the nozzles.
- Calculate the average nozzle output by adding the individual outputs and then dividing by the number of nozzles tested. The final average nozzle output in ounces is equal to the application rate in gallons per acre. For example, if you catch 15 ounces from a set of nozzles, the actual application rate of the sprayer is equal to 15 gallons per acre.
- Compare the actual rate with the recommended or intended rate. If the actual rate is more than 5 percent higher or lower than the recommended or intended rate, make adjustments in the spray pressure, the travel speed or both. For example, to increase flow rate either slow down or increase spray pressure (the opposite is true to reduce application rate).
- Repeat steps 3-6 until the recommended application error of 5 percent is achieved.
Sources: The Ohio State University Extension.
(Farm and Dairy is featuring a series of “101” columns throughout the year to help young and beginning farmers master farm living. From finances to management to machinery repair and animal care, farmers do it all.)
More Farming 101 columns:
- Prepare for planting season, Part 2: Calibration
- Prepare for planting season, Part 1: The Basics
- 7 tips to improve security on your farm
- 5 tips to protect your farmland
- 3 measures to deal with severe farm debt
- How to buy time to catch up on farm debt
- 6 tips to manage income on the farm
- 5 tips to recognize and deal with farm stress
- How to prepare a livestock birthing kit
- 5 tips for marketing your farm
- How to develop farm mission, vision statements
- 5 tips for setting farm goals
- 2 types of livestock insurance policies
- 6 things you need to know about WFRP plans
- 3 basics of crop insurance
- How does liability insurance work on the farm?
- Why do I need farm insurance?
- How to understand and use Ohio’s CAUV
- How to utilize the Pa. Clean and Green Act
- 9 tips for filing farm taxes
- 8 reasons record keeping for taxes is essential
- 5 tips for post-harvest storage
- 7 tips for family meetings on the farm
- 4 tips for balancing your farm and family
- 4 tips for communicating on the family farm
- 4 tips for firing an employee
- 6 tips for keeping good farm help
- 4 tips for recruiting farm labor
- 5 general farm labor laws
- 4 tips for employing minors
- 4 tips for PTO safety
- 5 things young farmers should know about finances
- The farm balance sheet
- 5 items for your farm’s cash flow statement
- Personal and business records: Keep them separate
- What to include in your farm business plan
- How to approach a lender: Tips for getting a farm loan
- How to use microloans to get your farm started
- Saving for the future: 6 tips for young farmers
- How to create a farm safety kit
- 5 tips for child safety on the farm
- 4 tips for transporting livestock
- 5 ways to better understand tractor stability
- 6 farm equipment hacks


I liked how you mentioned that you should check and clean nozzles before using them in an agricultural sprayer. My wife and I are wanting to move to a farm and we were wondering how we could spray the crops correctly. I’ll be sure to tell her that we should have the nozzles on the sprayers cleaned and checked before they are used.