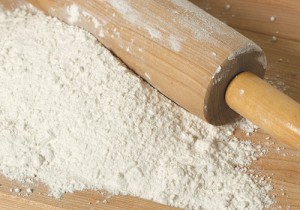
The term “gluten-free” is a buzzword of sorts; we see it in the news, read about it on websites and hear it around grocery stores.
Gluten is found in wheat, barley and rye, which are used in baked goods. It’s the combination of gliadin and glutenin, two proteins. Gluten is what gives baked goods elasticity and structure.
Some people develop a gluten intolerance or allergy, while others have the autoimmune disorder, celiac disease, and cannot consume anything with gluten. Thankfully, there are ingredients that can take the place of gluten in your favorite sweet treats.
Here are 10 tips for gluten-free baking:

2. Here’s a recipe for a gluten-free flour blend: 2 cups brown rice flour, ⅔ cup potato starch, ⅓ cup tapioca flour, 1 tsp xantham gum. Once it’s made, it can be stored, but remember to stir before using. Use the same amount as the amount of flour called for in the recipe.
3. You can substitute ½ to 1 tsp of guar gum or xantham gum per one cup of flour; guar gum and xantham gum will act as binding agents and also add texture and structure.
4. Use a mixture of flours and gums instead of just one for gluten-free baked goods.
5. If your gluten-free baked goods need more moisture, add gelatin, extra egg or oil.
6. If you want to enhance the flavor of gluten-free baked goods, chocolate chips, nuts or dried fruit can be added.
7. To retain moisture in gluten-free baked goods, add honey or rice malt syrup.
8. Eggs act as binding agents and enhance texture and structure in baked goods.
9. Store white rice flour and starches in the refrigerator or freezer since they have a short shelf life. Taste them before adding them to your recipe to make sure they’re fit for use.
10. After you’ve made gluten-free dough, let it sit in the refrigerator for at least 30 minutes before baking so the starches have a chance to hydrate fully, thus creating a better texture in the final product.
Sources: Penn State University Extension, North Dakota State University Extension Service, University of Illinois Extension, Whole Grains Council
Get more Great Recipes in your inbox each week by getting
Around the Table.
It's a FREE weekly e-newsletter all about food. Sign Up Today!


